Master Folder Navigation on Windows with Zoxide: A Complete Setup Guide
Introduction
If you’ve ever felt frustrated clicking through endless folders in File Explorer, you’re not alone. Traditional file navigation on Windows works, but it’s far from efficient. Enter Zoxide—a smarter, faster way to jump to any directory you’ve visited before. Instead of typing full paths or drilling down folder by folder, Zoxide learns your habits and lets you type a few characters to zip anywhere. This guide will walk you through installing, configuring, and mastering Zoxide on Windows, turning your command line into a turbocharged navigation tool.
What You Need
- Windows 10 or 11 (any recent version works)
- Command-line experience (basic knowledge of PowerShell or Command Prompt)
- Package manager (optional but recommended): Winget, Scoop, or Chocolatey
- Admin rights (for system-wide installation if using package managers)
Step-by-Step Instructions
Step 1: Install Zoxide
First, get Zoxide onto your system. You have three easy options—choose the one that fits your workflow:
- Using Winget (native to Windows 10/11): Open PowerShell as Administrator and run
winget install ajeetdsouza.zoxide. This pulls the latest version from Microsoft’s repository. - Using Scoop: If you prefer Scoop, run
scoop install zoxidein your terminal. - Using Chocolatey: For Chocolatey enthusiasts, execute
choco install zoxide. - Manual download: Visit the Zoxide releases page, download the
zoxide-x86_64-pc-windows-msvc.exefile, and place it in a folder that’s in your system PATH (e.g.,C:\Windows\System32).
Verify the installation by typing zoxide --version in your terminal. You should see a version number.
Step 2: Configure Shell Integration
Zoxide needs to integrate with your command shell so it can track directories and provide quick jumps. Choose your shell below and add the appropriate line to your profile file:
- For PowerShell: Edit your profile (
notepad $PROFILE) and add:Invoke-Expression (& { (zoxide init powershell | Out-String) }). Then reload with. $PROFILE. - For Command Prompt (cmd): Create a script file. Run
zoxide init cmd > %USERPROFILE%\zoxide_init.cmd. Then addcall %USERPROFILE%\zoxide_init.cmdto your autoexec.bat or use the registry to run it on startup. - For Windows Terminal: If you use multiple shells, add the integration line to each profile’s settings within Windows Terminal.
After setting up, restart your terminal or reload the profile. You’re now ready to start navigating.
Step 3: Basic Navigation with the z Command
The heart of Zoxide is the z command. To jump to a folder you’ve visited before, just type a small part of its name. For example:
z downtakes you to a folder namedDownloadseven if its full path isC:\Users\YourName\Downloads.z projmight jump toD:\Projects\WebAppif that’s your most frequently accessed match.
The first time you run z, you’ll see nothing happen if the database is empty. Zoxide learns by recording every directory you change into using cd or z. So start by navigating to a few important folders using cd—Zoxide will automatically index them.
Step 4: Advanced Usage—Fuzzy Matching and Interactive Mode
Zoxide’s true power shines with fuzzy matching. You can type partial segments, even with typos, and it will still find the right folder. For instance:
z docu downcould matchC:\Users\YourName\Documents\Downloads.z ..goes one level up.- Use
z -to go to the previous directory.
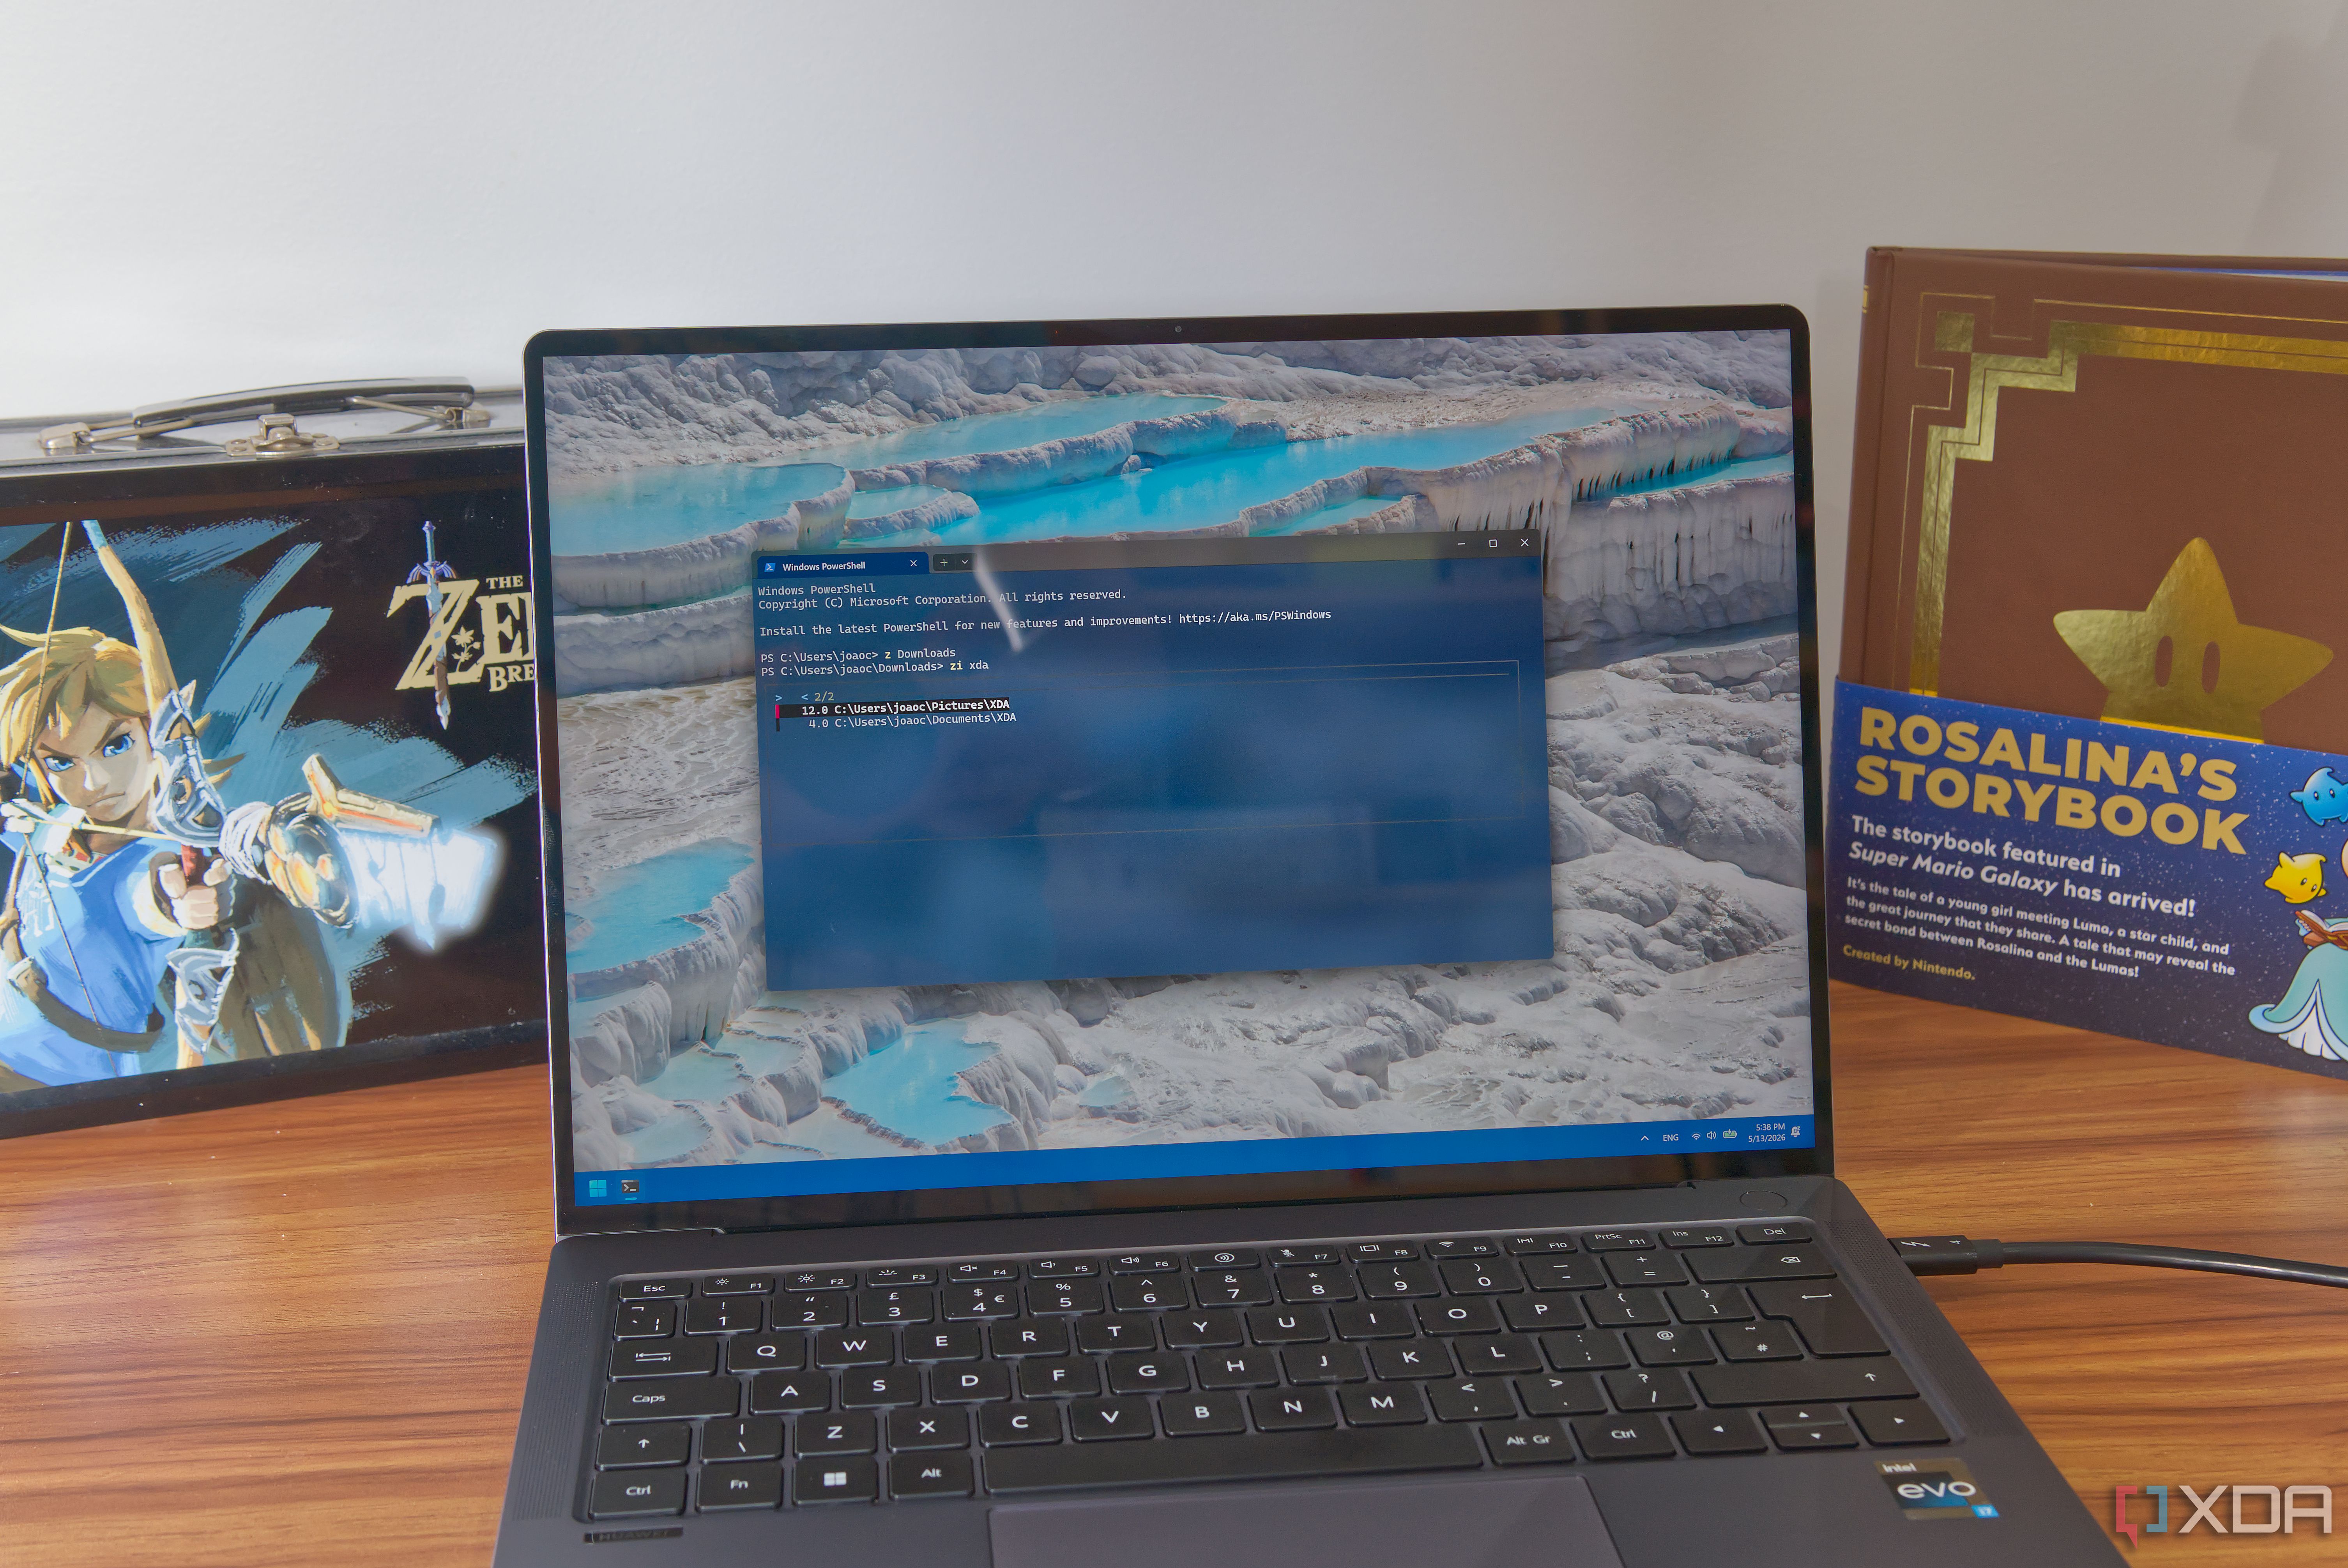
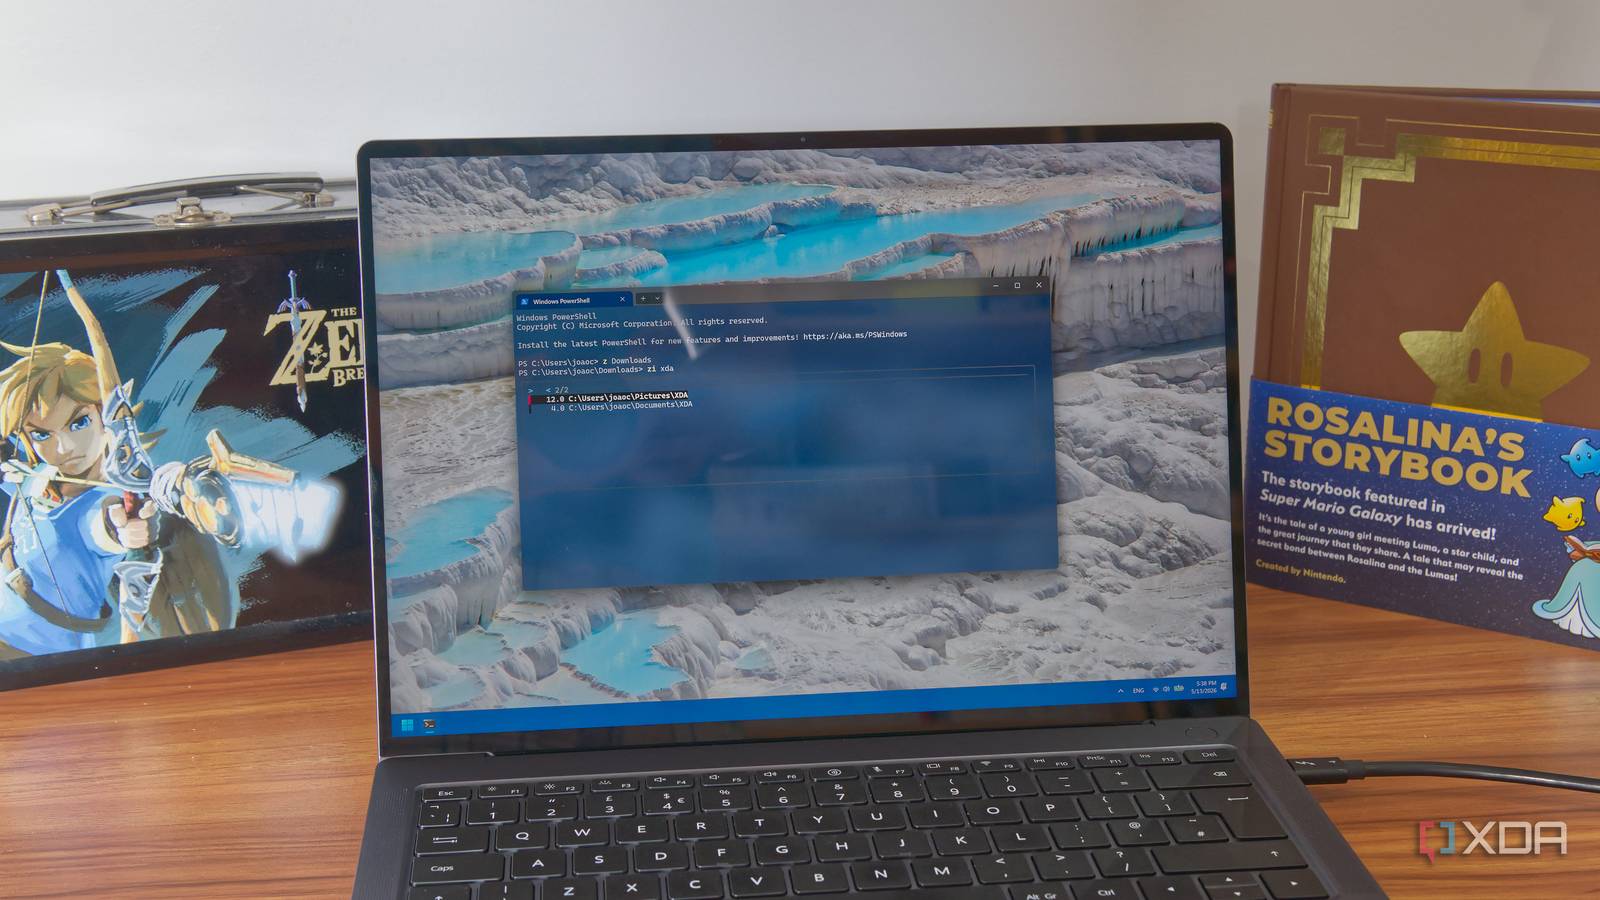
For more control, use the interactive selector. Run zi (short for z -i) to see a list of matched directories ordered by frecency (frequency + recency). Use arrow keys to pick one and press Enter. This is great when you’re not sure which directory you want.
Step 5: Managing the Database and Excluding Folders
Over time, Zoxide’s database can grow large. You can fine-tune it using environment variables:
- Exclude folders by setting
_ZO_EXCLUDE_DIRSenvironment variable with a colon-separated list of patterns (e.g.,C:\Windows;C:\Program Files). - Change database location with
_ZO_DATA_DIR. By default it’s stored in%APPDATA%\zoxide. - Clear the database by deleting the
dbfile inside that folder. Zoxide will rebuild it from your future navigation. - Import existing history from tools like
cdargsorautojumpusingzoxide import /path/to/history.txt.
Tips for Mastering Zoxide
- Start small: Don’t try to learn every command at once. Get comfortable with
z some-folderfirst. - Combine with aliases: Create shorter commands like
alias j='z'if you’re used to other jump tools. - Use with tab completion: Zoxide supports tab completion in PowerShell and cmd. Type
z [partial]and press Tab to cycle through matches. - Troubleshoot slow startup: If your terminal takes long to load, ensure the Zoxide init script is only called once. Check for duplicate lines in your profile.
- Update regularly: New versions bring performance improvements. Use
winget upgradeor your package manager to stay current. - Migrate from other jump tools: If you’ve used
cdargsorautojump, export their history and import usingzoxide import.
Once you get the hang of Zoxide, you’ll wonder how you ever managed without it. The ability to type two or three characters and instantly land in any deeply nested folder makes File Explorer feel clunky and slow. Give it a week—you won’t look back.
Related Articles
- Boosting Literacy for English Learners: How One Ohio District Turned Pandemic Challenges into Progress
- Navigating California's Expanded Transitional Kindergarten: A Step-by-Step Enrollment Guide
- How to Build Job-Ready Skills: A Step-by-Step Guide to Coursera's Latest Programs
- Master In-Demand Tech Skills: 11 New Microsoft Professional Certificates on Coursera
- Building Robust ML Pipelines with ZenML: A Practical Guide to Custom Components and Hyperparameter Tuning
- The Ultimate How-To: Build a Knowledge Base to Save Your Brain from AI Dependency
- How a Self-Taught Coder Created an AI Agent to Crack Leaderboards
- NVIDIA CEO Declares AI Revolution the 'Biggest Industrial Shift in History' in CMU Commencement Address