Transform a Spare Keyboard Into a Powerful Macropad on macOS
Introduction
If you’ve ever envied the convenience of a dedicated macro device like the Elgato Stream Deck but balked at the price, there's a budget-friendly alternative that’s likely sitting right in your closet: a spare keyboard or a standalone numeric keypad. With a bit of configuration, either can become a fully functional macropad on macOS, capable of executing complex sequences of actions with a single keystroke. This approach not only saves money but also repurposes hardware you might otherwise discard.
Why Use a Macropad?
Macros are more than just keyboard shortcuts. While a shortcut typically triggers a single action—like Cmd+C to copy—a macro can automate a chain of commands: opening an app, navigating menus, pasting text, then closing a dialog, all from one keypress. This is invaluable for repetitive tasks in video editing, programming, graphic design, or even regular office work. A dedicated macropad keeps these functions separate from your main keyboard, reducing accidental triggers and freeing up mental bandwidth.
Choosing Your Hardware
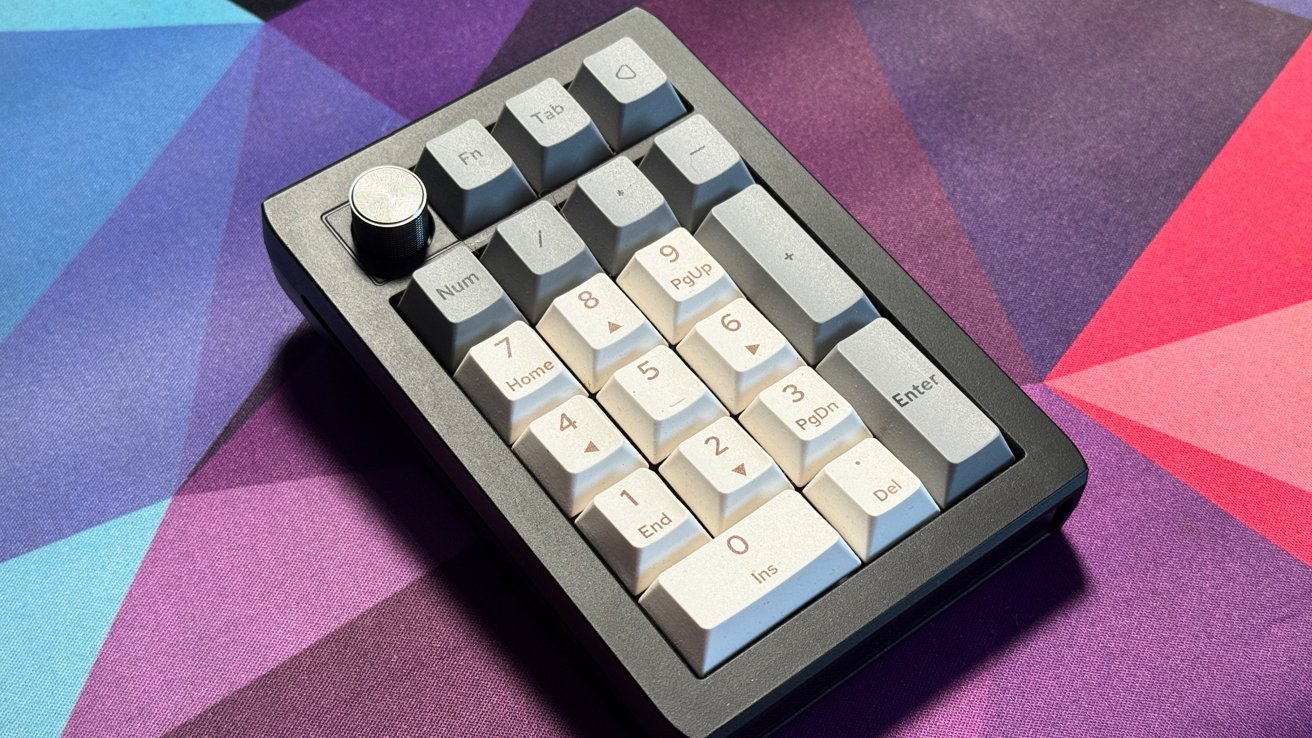
Almost any USB or Bluetooth keyboard works. The easiest candidate is a full-size keyboard you no longer use, but even a compact numpad like the Epomaker EK21 (which natively supports the Via configuration tool) is a strong contender. When selecting a spare device, ensure it connects reliably to your Mac and has enough keys for the macros you have in mind. For Bluetooth models, verify macOS pairing is stable; wired USB devices are generally more predictable.
- Full keyboard: Great if you have many macros, but can be bulky.
- Numpad: Compact, affordable, and enough for 20+ common actions.
- Programmable keypad: Some gaming models come with built-in macro support, but can be customized anyway.
Setting Up the Software
macOS has no native macro‑mapping for external keyboards, so you’ll need a third‑party tool. Three popular options are described below.
Karabiner-Elements (Free)
Karabiner-Elements is the Swiss Army knife of keyboard customization on Mac. It allows remapping any key to any other key, modifier, or even a complex combination of keystrokes and mouse clicks.
- Install and launch Karabiner. Grant necessary permissions when prompted.
- Identify your spare keyboard: it will appear as a separate device under the “Devices” tab. You can apply rules only to that physical keyboard, leaving your main board unaffected.
- Under the “Complex Modifications” tab, add or create rules. For simple macros, use the built‑in “Add rule” browser; for advanced sequences, write a JSON rule that sends multiple keystrokes or launches applications.
- For example, to remap a numpad “0” key to type “hello world” and press Enter, set the ‘from’ key to keypad_0 and ‘to’ to an array of keys: h, e, l, l, o, space, w, o, r, l, d, return.
Karabiner is highly reliable because it works at the kernel level, but it has a learning curve for complex macros.
BetterTouchTool (Paid, Free Trial)
BetterTouchTool (BTT) offers a graphical interface for creating macros tied to virtually any input device. It’s particularly user‑friendly for non‑programmers.
- Download BTT and launch it. Under “Key Sequences,” you can assign a specific key on your spare keyboard to a pre‑defined or custom action.
- Use the “Trigger” dropdown to select “Keyboard” and then click “Capture” to press the key you want to map. BTT will recognize it even if the key is on a secondary keyboard.
- Choose an action from the extensive library: launch app, simulate keyboard shortcut, run AppleScript, paste text, or even control system settings.
- One powerful feature is “Named Trigger” groups, which let you design a whole macropad layout for different contexts (e.g., one set for Photoshop, another for Excel).
BTT costs about $20, but its versatility and polish justify the expense if you rely heavily on macros.

Via (for Supported Keyboards)
If your spare keyboard or numpad supports Via, especially models like the Epomaker EK21, you can remap keys at the firmware level—no background software required after configuration.
- Connect the keyboard via USB. Open the Via web app (usevia.app) or the downloadable version.
- Flash the keyboard with the correct JSON layout file (usually provided by the manufacturer).
- Click on the virtual key you want to change, then assign a macro from the “Macros” tab. Macros can include multiple keystrokes, delays, and even mouse actions.
- Via stores the configuration on the keyboard’s onboard memory, so the macros travel with the device to any computer.
This is the most elegant solution for compatible hardware—no extra apps, no resource usage.
Advanced Configurations and Tips
To get the most out of your macropad, consider these enhancements:
- Context‑sensitive layers: Use Karabiner or BTT to change what each key does depending on the active app. For example, your numpad could act as number entry in a calculator, but as navigation arrows in a video editor.
- Turbo mode with delays: Some macros need pauses between steps. In BTT, you can insert wait commands; in Karabiner, use the “simultaneous” or “hold” actions to create timing.
- Virtual MIDI or HID output: For advanced automation, combine your macropad with Keyboard Maestro or AppleScript to control non‑keyboard tasks like file management or web scraping.
- Label your keys: Use a label maker or keycap stickers to indicate each key’s function. This turns your spare keyboard into a purpose‑built tool.
Conclusion
Repurposing a spare keyboard or numpad as a macropad is one of the most cost‑effective productivity hacks for macOS users. Whether you choose the free power of Karabiner-Elements, the polish of BetterTouchTool, or the hardware‑level permanence of Via, you can streamline your workflow without spending a cent on new gear. Experiment with a few simple macros first, then build up to a full custom grid—your future self will thank you for every saved keystroke.
Related Articles
- Fonttrio Debuts as Open-Source Font Registry for shadcn/ui, Offering One-Command Installation of 49 Curated Pairs
- Switching from Vim to Helix: A Practical Guide to Built-in Language Servers and More
- 4 Hidden Excel Tools That Will Revolutionize Your Workflow (No Ribbon Required)
- 8 Key Insights on SAP's AI Rollout: From Promises to Reality
- How to Harness Amazon Bedrock’s Claude Opus 4.7 and AWS Interconnect for Next-Gen Cloud Workflows
- Docker Offload GA: Unleashing Docker Desktop Across Every Enterprise Environment
- GIMP 3.2.4 Ships Critical Bug Fixes for Layer Handling and Naming Stability
- 3 Creative Masterpieces Showcasing Apple's Creator Studio: A Deep Dive