How to Customize Your Google TV Home Screen with a Third-Party Launcher
Introduction
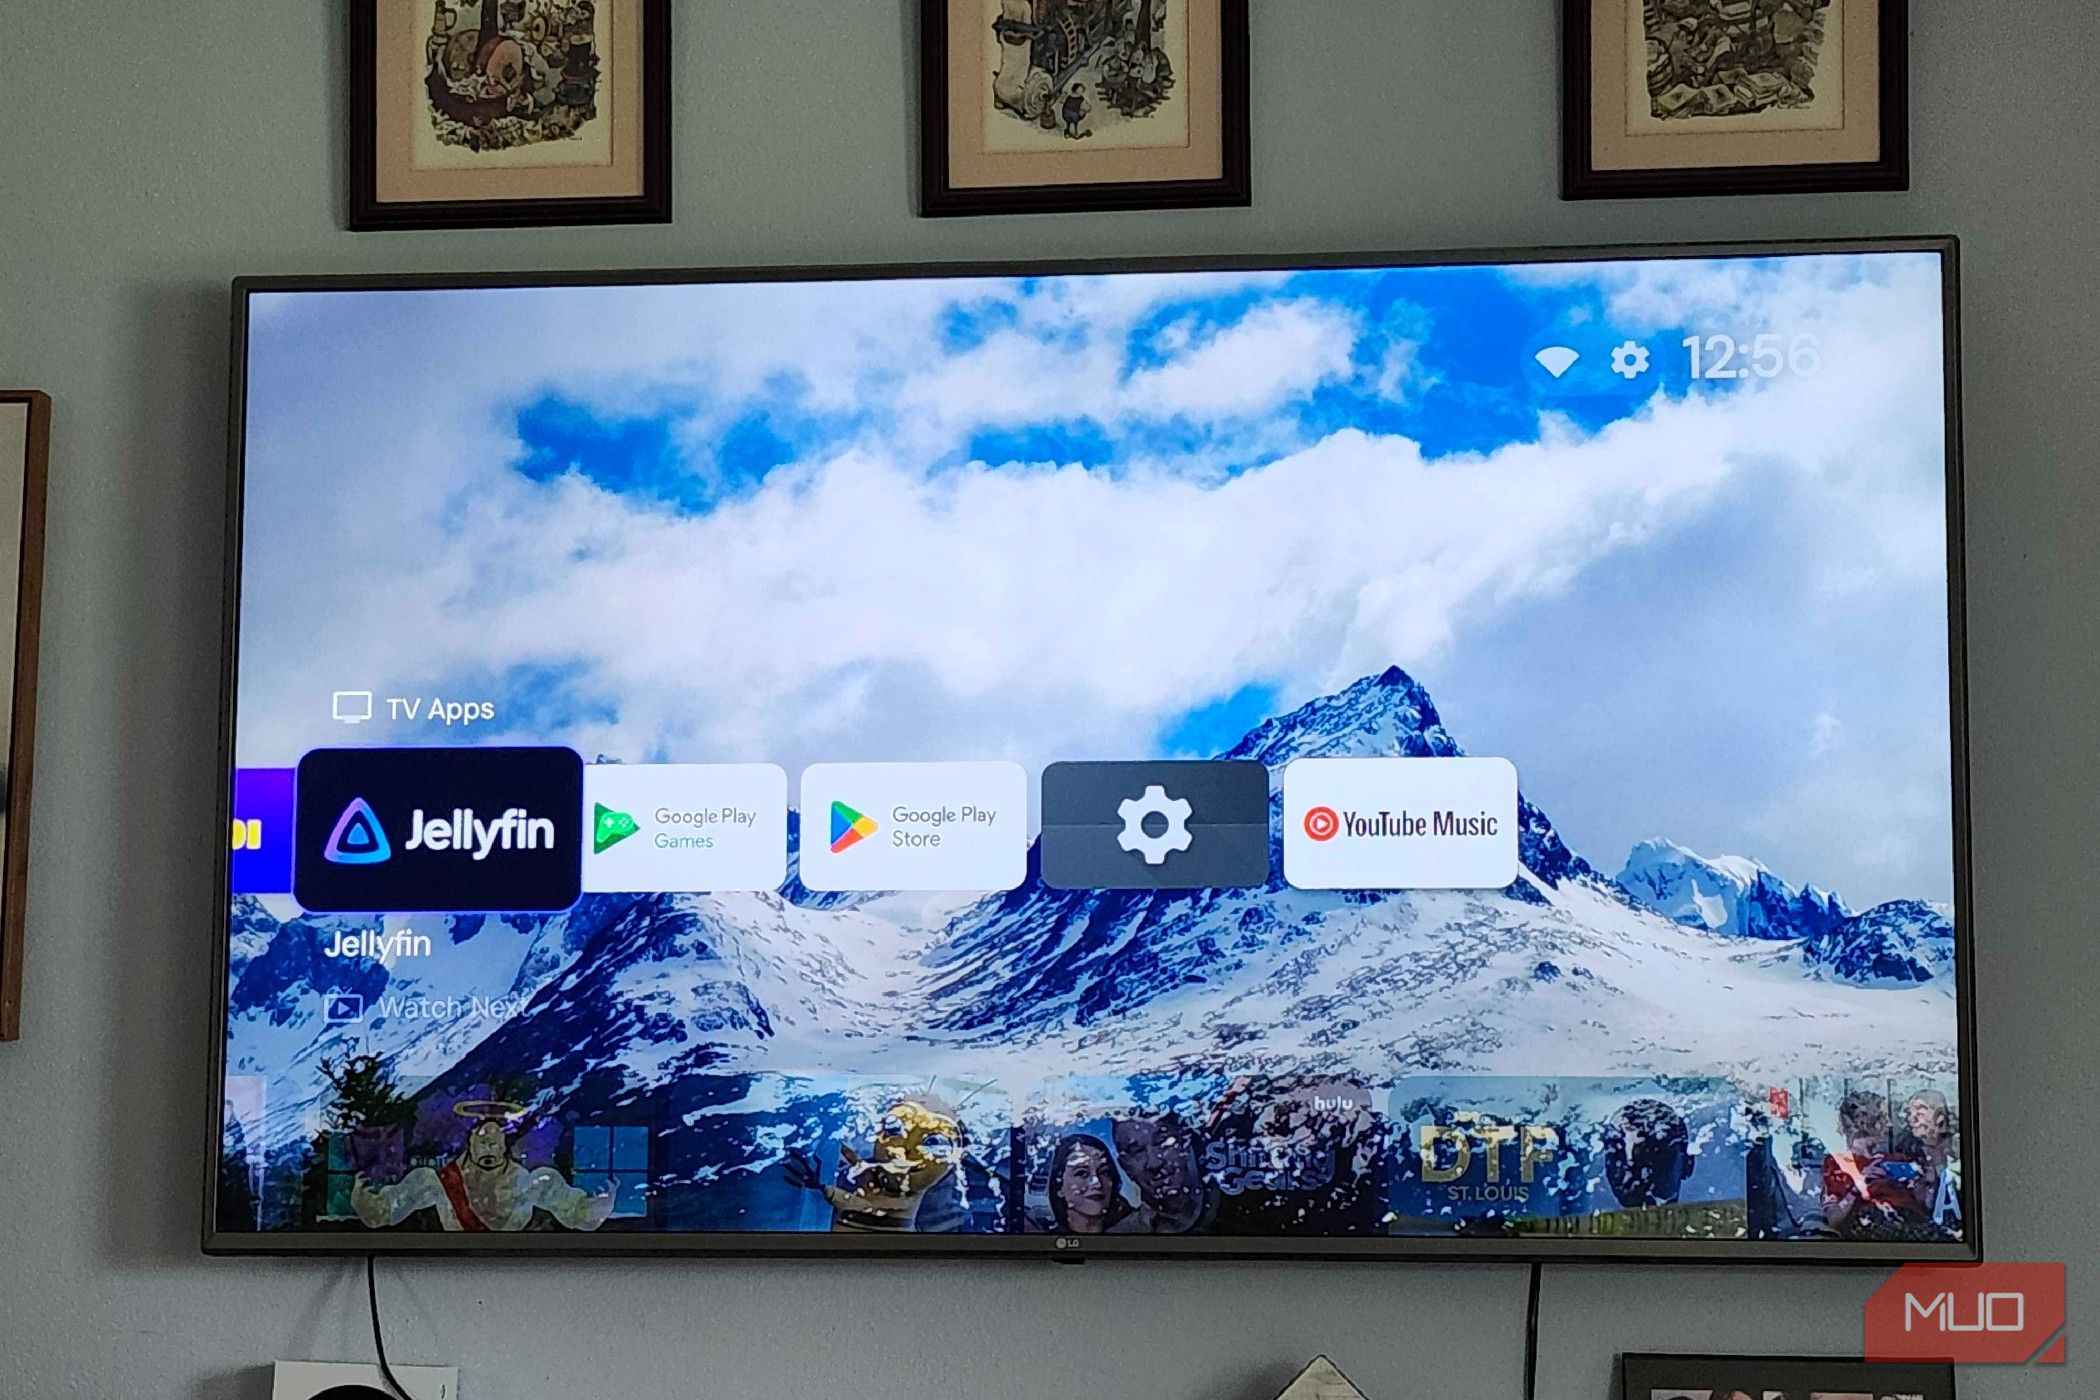
If you've been using a Google TV device—like the Onn Streaming Box—you've probably noticed that its home screen is fairly locked down, limiting customization. However, with a bit of side-loading, you can replace the default launcher with a third-party app that offers a cleaner, more personalized interface. This guide walks you through the entire process, from enabling developer options to setting your new launcher as the default. By the end, you'll wonder how you ever lived without it.
What You Need
Before starting, gather the following tools and permissions:
- A Google TV device (e.g., Onn Streaming Box, Chromecast with Google TV)
- A USB-C power adapter (for powering the device during side-loading if needed)
- A computer (Windows/Mac/Linux) or an Android phone for side-loading apps
- An internet connection on both the TV device and computer/phone
- A file manager app installed on the Google TV (e.g., X-plore File Manager)
- A custom launcher APK (e.g., Wolf Launcher, Launcher X, or Sideload Channel Launcher 3)
- Developer Options enabled on the Google TV
- USB debugging enabled (optional, but helpful for ADB commands)
Step-by-Step Instructions
Step 1: Enable Developer Options on Your Google TV
Follow these steps to unlock hidden settings:
- Go to Settings > System > About.
- Scroll down to Android TV OS build and click on it repeatedly (about 7 times) until you see a toast saying "You are now a developer."
- Go back to Settings > System > Developer options.
- If you plan to use ADB later, toggle USB debugging On.
- Also enable Install unknown apps or Allow unknown sources (the exact name depends on your device firmware).
Step 2: Install a File Manager App
To install the APK side-loaded, you need a way to browse files on your Google TV. Use the built-in Google Play Store to download a file manager like X-plore File Manager or FX File Explorer.
- Open the Google Play Store on your TV.
- Search for X-plore File Manager and install it.
- Launch the app once to grant storage permissions when prompted.
Step 3: Get a Custom Launcher APK
Choose a launcher that suits your needs. Popular options include:
- Wolf Launcher – lightweight, clean interface.
- Launcher X – highly customizable, supports widgets.
- Sideload Channel Launcher 3 – simple, designed for side-loaded apps.
Download the APK file to your computer or phone from a trusted source like APKMirror or the developer's GitHub page.
Step 4: Transfer the APK to Your Google TV
You have two main methods:
Method A: Using a USB Drive
- Copy the APK file to a USB flash drive formatted as FAT32.
- Connect the USB drive to your Google TV using an OTG cable or a USB hub (if your device lacks a USB port, use an OTG adapter).
- Open X-plore File Manager and navigate to the USB drive (marked as USB storage).
- Select the APK and click Install (you may need to confirm unknown sources).
Method B: Using ADB Over Network (Wireless)
- Ensure both your Google TV and computer are on the same Wi-Fi network.
- On your Google TV, go to Settings > Network & Internet and note the IP address (e.g., 192.168.1.10).
- Enable USB debugging in Developer options (if not already).
- On your computer, open a command prompt or terminal and run:
adb connect 192.168.1.10(replace with your TV's IP). - Once connected, transfer the APK:
adb install /path/to/launcher.apk. - After installation, disconnect using
adb disconnect.
Step 5: Set the New Launcher as Default
After installing, you need to override the system's default home button behavior. This step varies by launcher, but here's a universal method:
- Press the Home button on your remote once.
- If prompted, select Always or Just once to use the new launcher. If no prompt appears, you may need to use an additional app like Button Mapper to assign the launcher to a button.
- To make the launcher stick, install Background Apps and Process List or TVQuickActions Pro to kill the default launcher process after boot.
- If the new launcher doesn't start automatically, open it from your app drawer and select Set as default launcher within its settings (if available).
Step 6: Remove the Stock Launcher (Optional but Recommended)
To prevent the stock launcher from interfering, you can disable it via ADB:
- Connect ADB as in Step 4 (Method B).
- Run:
adb shell pm disable-user --user 0 com.google.android.tvlauncher(package name may vary; verify withadb shell pm list packages | grep launcher). - If you ever want to restore, replace
disable-userwithenable.
Tips for a Smooth Experience
- Test the launcher for a few days before disabling the stock one—some launchers may have bugs or lack features like live TV integration.
- Keep a backup remote (e.g., a USB keyboard) in case the launcher crashes and you need to navigate to settings.
- Use a lightweight launcher if your Google TV device has limited RAM (e.g., older Onn Streaming Box runs smoother with Wolf Launcher).
- Enable Developer options again if you need to update the launcher or add apps later.
- Remember that system updates may re-enable the stock launcher; re-run the ADB disable command after major updates.
- Explore launcher settings to hide app rows, change background, and add widgets—many launchers offer deep customization.
By following these steps, you'll transform your Google TV into a fully customizable device that works the way you want. Once you experience a clean, ad-free home screen without promoted content, you won't want to go back.
Related Articles
- AWS Unveils AI Agent Revolution: Quick Desktop App and Four New Connect Solutions Reshape Enterprise Operations
- How to Integrate Coursera’s Learning Agent into Microsoft 365 Copilot: A Step-by-Step Guide
- Web Development's Relentless Cycle: Why the Only Constant Is Change
- How Schools Can Prepare for Website Accessibility Compliance: A Step-by-Step Guide
- Advanced Machine Learning Pipelines with ZenML: Custom Materializers, Metadata Tracking, and Hyperparameter Optimization
- ChatterBot Python Library Gets Major 2025 Revamp with LLM Integration
- Breaking: 'World Models' Emerge as Pivotal AI Frontier – Experts Warn of Paradigm Shift
- Coursera and Udery Join Forces: A New Era in Skill Development